Wednesday, November 23, 2022

Update to the yard sequencer

About 2 years ago I added some automation to the Southern Pacific staging yard using some Azatrax IR detection modules. The idea was to have a train enter the yard and stop on one a particular track and another train automatically leave on another track.   The post I made on this in November 2020 is HERE.

This has worked well but occasionally when after coasting to a stop the space between 2 locomotives lands right over the receiver that is under the track.  These particular Azatrax units close a relay contact momentarily but will continue to show detection as long as the beam is blocked.  When the beam is no longer blocked, the circuit is reset.  When it is time for the train to go out again, as soon as it moves the beam is blocked by the second locomotive and the circuit thinks the train has just arrived and switches to the next train in the sequence. 


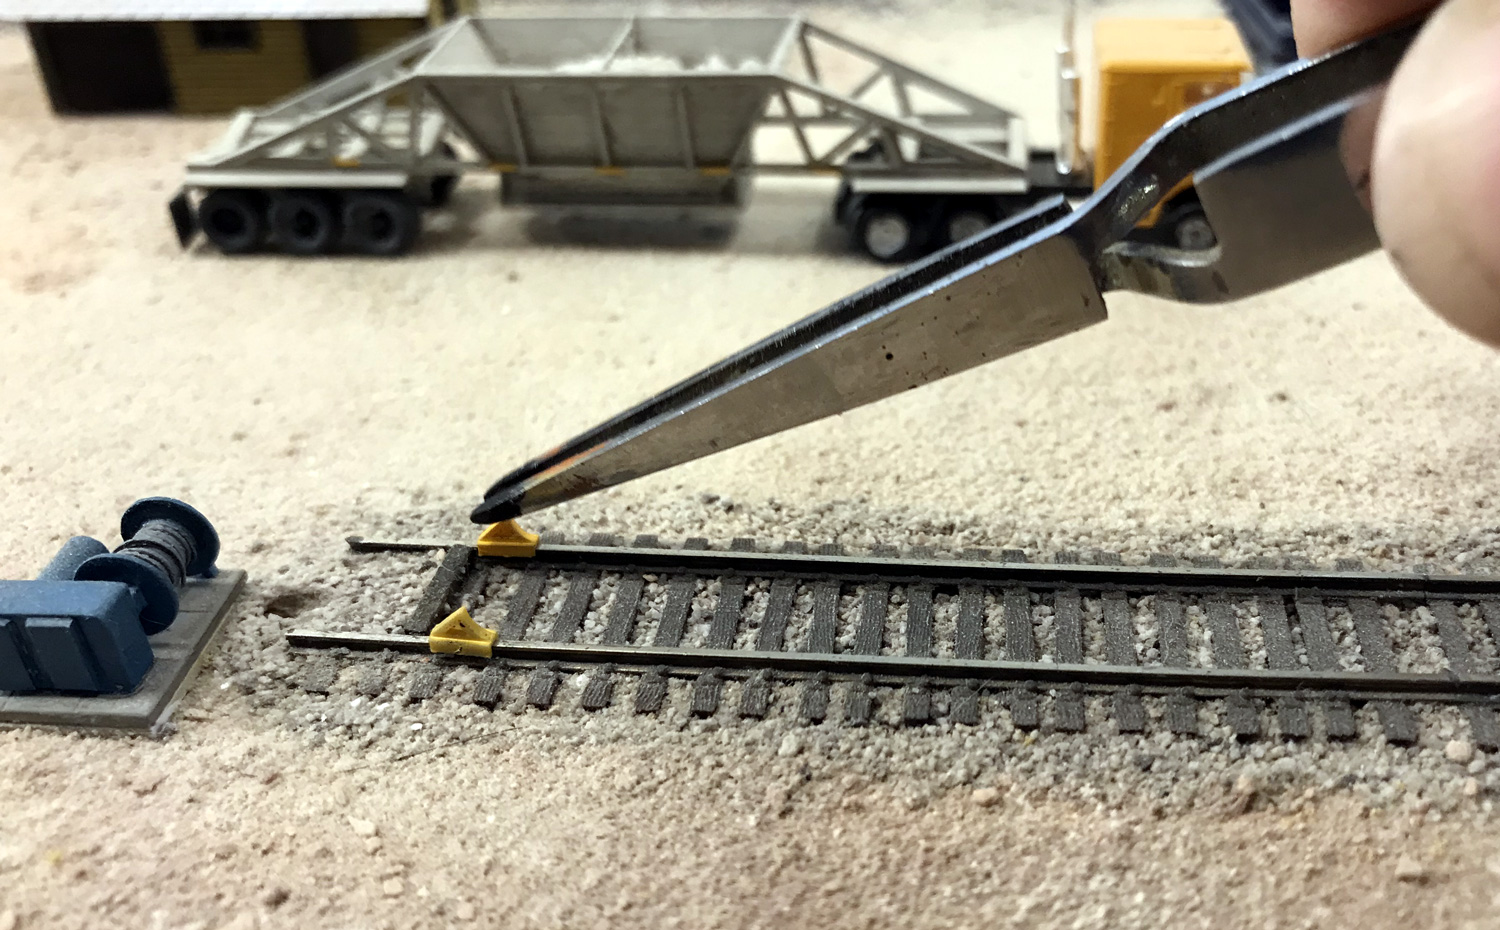
After giving this problem some thought over a period of time I came up with some ideas on how to overcome this and recently I put those ideas to the test.  First I removed the IR transmitter stand and carefully bent both the 1/8 inch rod and the 1/8 inch tube near where they go through the deck.  This would hopefully prevent the beam from passing through between the locomotives.  After re-installing them I re-tested by slowly pushing a pair of flat cars over the IR receiver.  This helps as but did not totally correct the problem.  Next I pushed the IR receiver down deeper into it's hole between the ties.  This again was an improvement but did not totally prevent the beam from passing through to receiver.  Last, I made a lens from .250 wide by .010 Evergreen strip with a hole of about 1/16 inch.  The hole was aligned over the spot where the receiver is.  This seemed to do the trick.


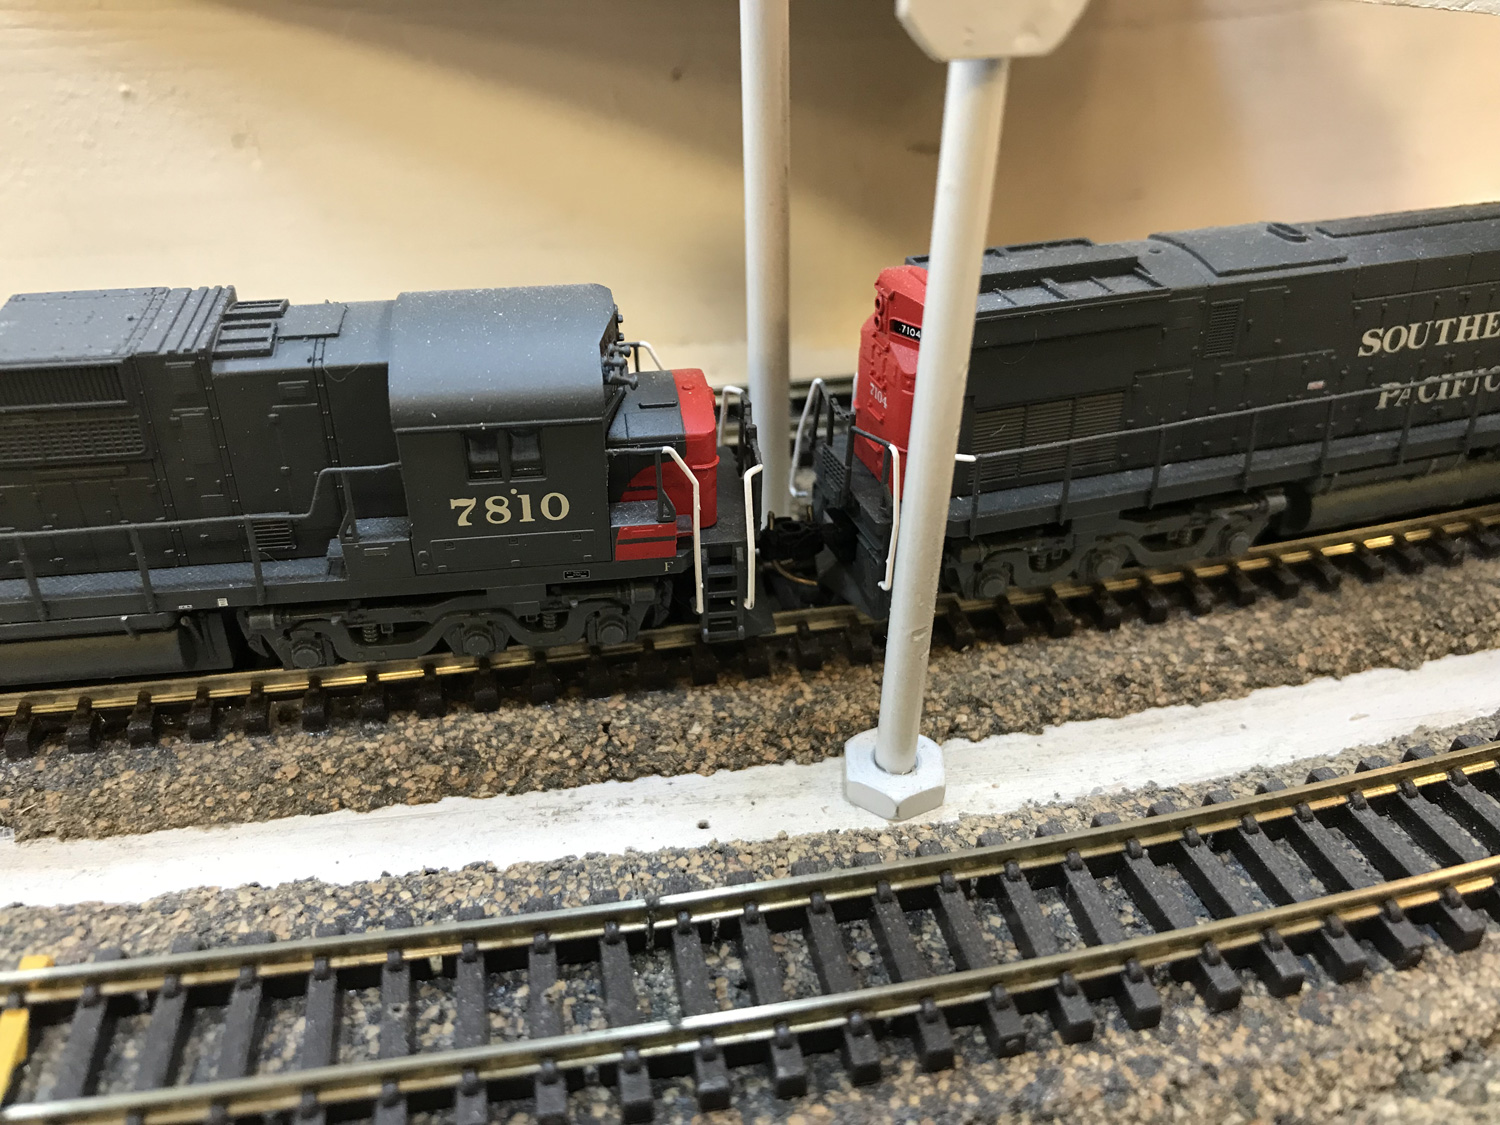
To test the arrangement I was using a Kato SD40-2 and an SD40 set back to back and slowly pushed them across the path of the sensor.  These have the most open back porch and when running back to back provide the largest path for the IR signal to get through.


While these adjustments seem to have corrected this issue, the real test will come when the upper helix and return loop are finished.  Then I can setup several trains to run in continuous operation.

Sunday, November 13, 2022

Finishing the railroad rooming house

Last February I presented an assortment of structures that had been gathered for Carlin's main street.  It's time to see what has been happening with some of these.

We will start with the American Model Builders railroad rooming house kit.  Some time ago I had assembled the walls, base, and stairs.  This was necessary to be able to create the pit in the scenery that the building would go into.  Then I had finished the roof and added a few doors.  After that it sat in a box while I worked on other layout projects.   The photo below shows it how it was left.  Now I am going back and finishing this building, adding the rest of the doors, the windows and any finishing touches.


The kit models double hung wood windows.  The design of this kit allows for the lower, open-able section to be placed in any position so I have included some opened at various heights and others closed.  

Inside the building a center view block was added from .030 styrene and painted black.  Notches were made on the bottom to go around the two small magnets.


Some lighting was added to the outside of the building using a Miniatronics 1.5 volt lamp.  The wires were bent into the shape of a support arm and painted silver. 


Inside the building the tiny wires from the lamp are soldered to a Kato 77A board where I had removed the LED.  The board has a 270 ohm resistor on it.  Larger 22 gauge wires have been soldered to the input tabs of the board and those will be fed through a hole in the base of the building to connect to the 12 volt DC buss under the bench work.  Also in this photo the window glazing consisting of .010 clear plastic sheet can be seen.


This is the finished building planted into it's pit and held in place by the small magnets.  There is still more to do with some details around the area but the basic structure is now finished.


Friday, November 4, 2022

3D Printed Wheel Stops

Almost a year ago I learned about some 3D printed wheel stops from The Little Rock Line blog.  So I ordered them from an Etsy seller.  This was my first purchase on Etsy and have noticed that it seems to be a good source for N Scale 3D printed items and more reasonably priced than items on Shapeways.  I have since ordered a few more items on Etsy from this same seller and others.  Selection is not a large as Shapeways but hopefully will expand over time.

So just recently I got around to painting and installing these.  They come 12 in a pack consisting of 3 groups of 4.


Each wheel stop is mounted on 6 of the little posts that are common on 3D printed items.  I painted these with a brush before removing the wheel stop from the posts.  There is a little channel at the bottom where the wheel stops meet the posts so care was taken not to damage the channel.


After cutting the posts off with a spue cutter, I filed smooth any nubs left on the edges of the channel.  Installing these just took a small drop of super glue on the rail and then the channel fit right over the rail.


These wheel stops have been installed at the ends of 6 out of the 9 spur tracks on my layout.  The other 3 have some end of track bumpers that I scratch built from brass