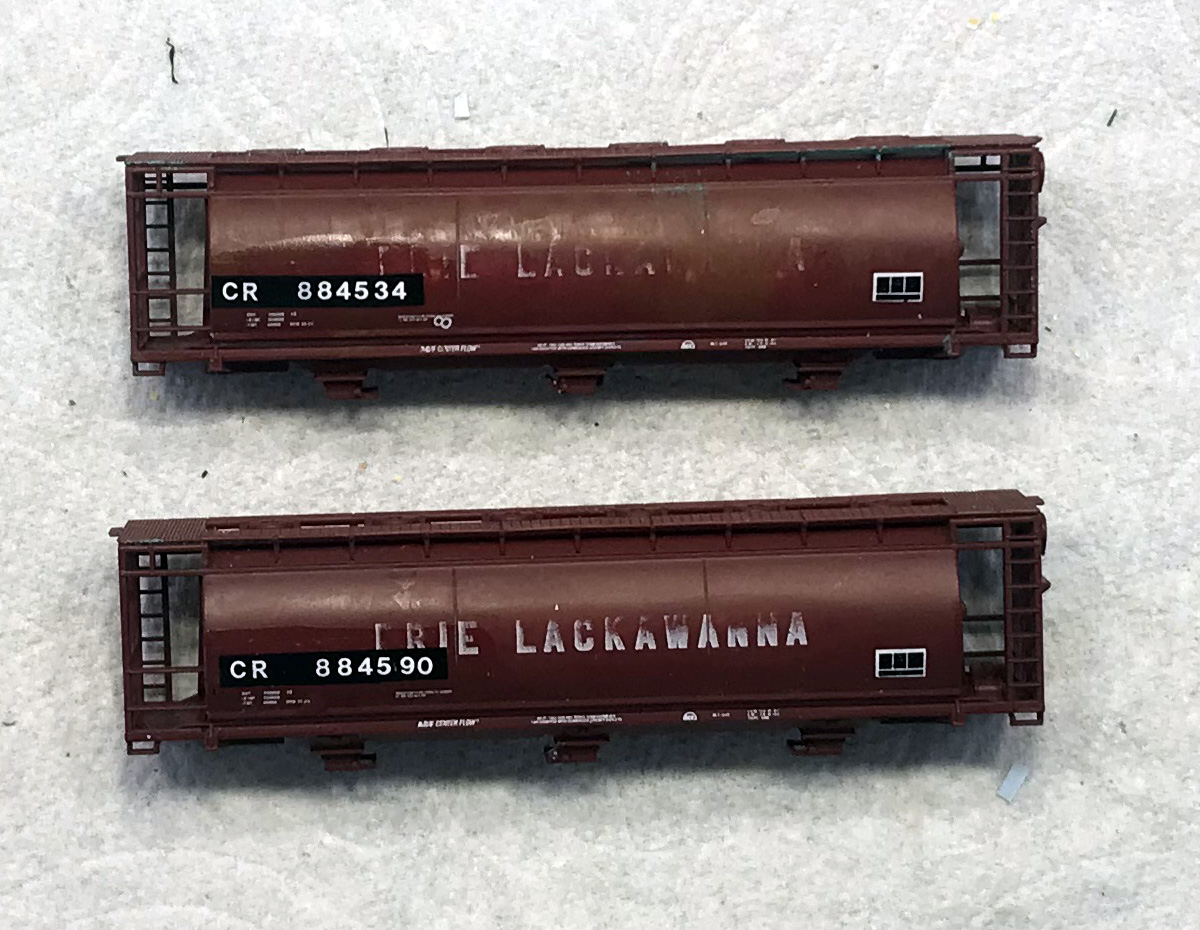
In the operating scheme of the layout, Diamond Plastics in Battle Mountain receives car loads of plastic pellets from the east coast. I found that I had a shortage of eastern railroad's covered hoppers in the correct era. I did have a pair of Delaware Valley cylindrical covered hoppers in Eire Lackawanna that I felt were too old to fit in my 1975 to 1995 layout era. Then realizing that the Eire Lackawanna was adsorbed into Conrail in 1976, I started to do a little research on these cars and found photos of these type of cars being in service with Conrail at least into the late 1990's. In this photo below, an old PRR keystone logo can be seen showing through just to the left of the Conrail logo.

So, the Conrail era of 1976 to 1999 fits right in with my layout and they inherited many of this type of freight car from their predecessor roads including the Erie Lackawanna. Seems the Pennsylvania and Eire Lackawanna cars were this mineral red color but some later were painted light gray by Conrail. The road numbers assigned to these cars by Conrail seemed to range from about 884500 to 884950. For these cars I want to model them before any re-painting had been and just patched with the new Conrail road number.
The first step I took in weathering these cars was to fade the "Erie Lackawanna" road name in varying degrees. I used a soft eraser pencil dipped in Microscale Micro Sol and rubbed off the lettering part of the way. Photo below shows before and after.

The next step was to use black stripe decals to black out the existing Eire Lackawanna road number. I did this with some black decal stripe. When this had set, I then brushed some gloss finish over it to make it extra secure when working with the road number decals that will go on top of it.
I could not find any photo of a car known to have been a former Eire Lackawanna car so the road numbers chosen were from within the range of similar Conrail cars that I had seen in photos. The lettering for the road numbers was taken from a Microscale white numbers and letters set. I also added a data panel from another Microscale set.
Next, I used black detail wash to weather the car bodies. Once I was satisfied with the wash effects, the car bodies were let dry over night and I took a look at the trucks that I had pulled off of them. They were Micro-Trains older era types with pizza cutter flanges so I pulled out 2 pairs of roller bearing types from my stash as these would be more prototypical for the layout's era. The wheels on these had low profile flanges which I prefer for use on my code 55 track.
The wheels were removed from the trucks and the trucks were places into a holder that had made a few years ago for specifically for spraying Micro-Trains trucks. After first spraying a adhesion promoting primer, I sprayed the truck side frames with Mission Models railroad tie brown. After that had dried, I sprayed both the trucks and the car bodies with Testors Dulcoate lacquer.
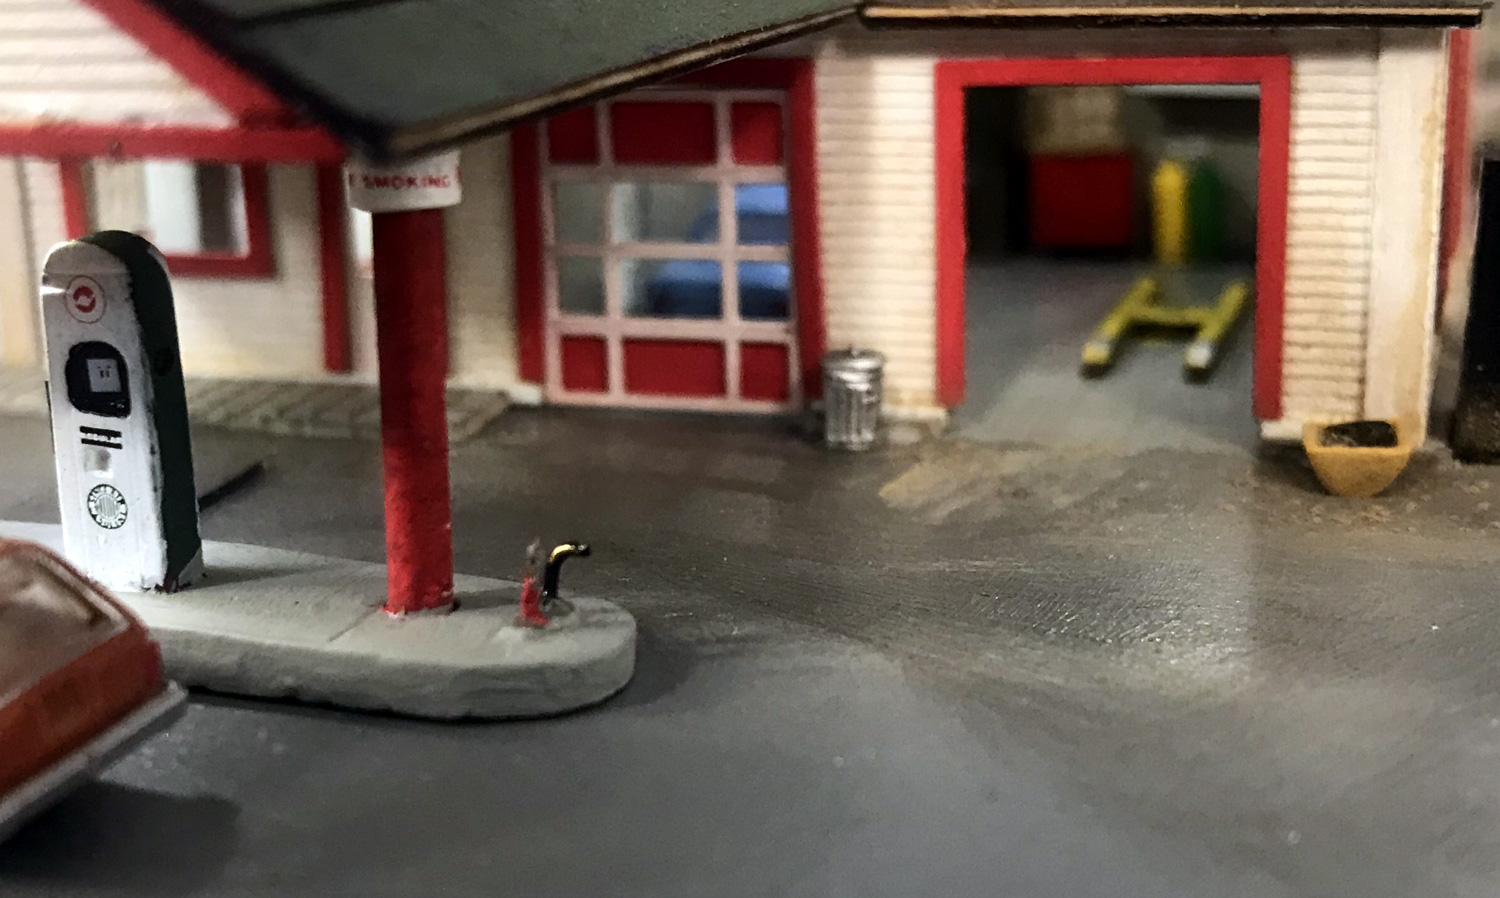
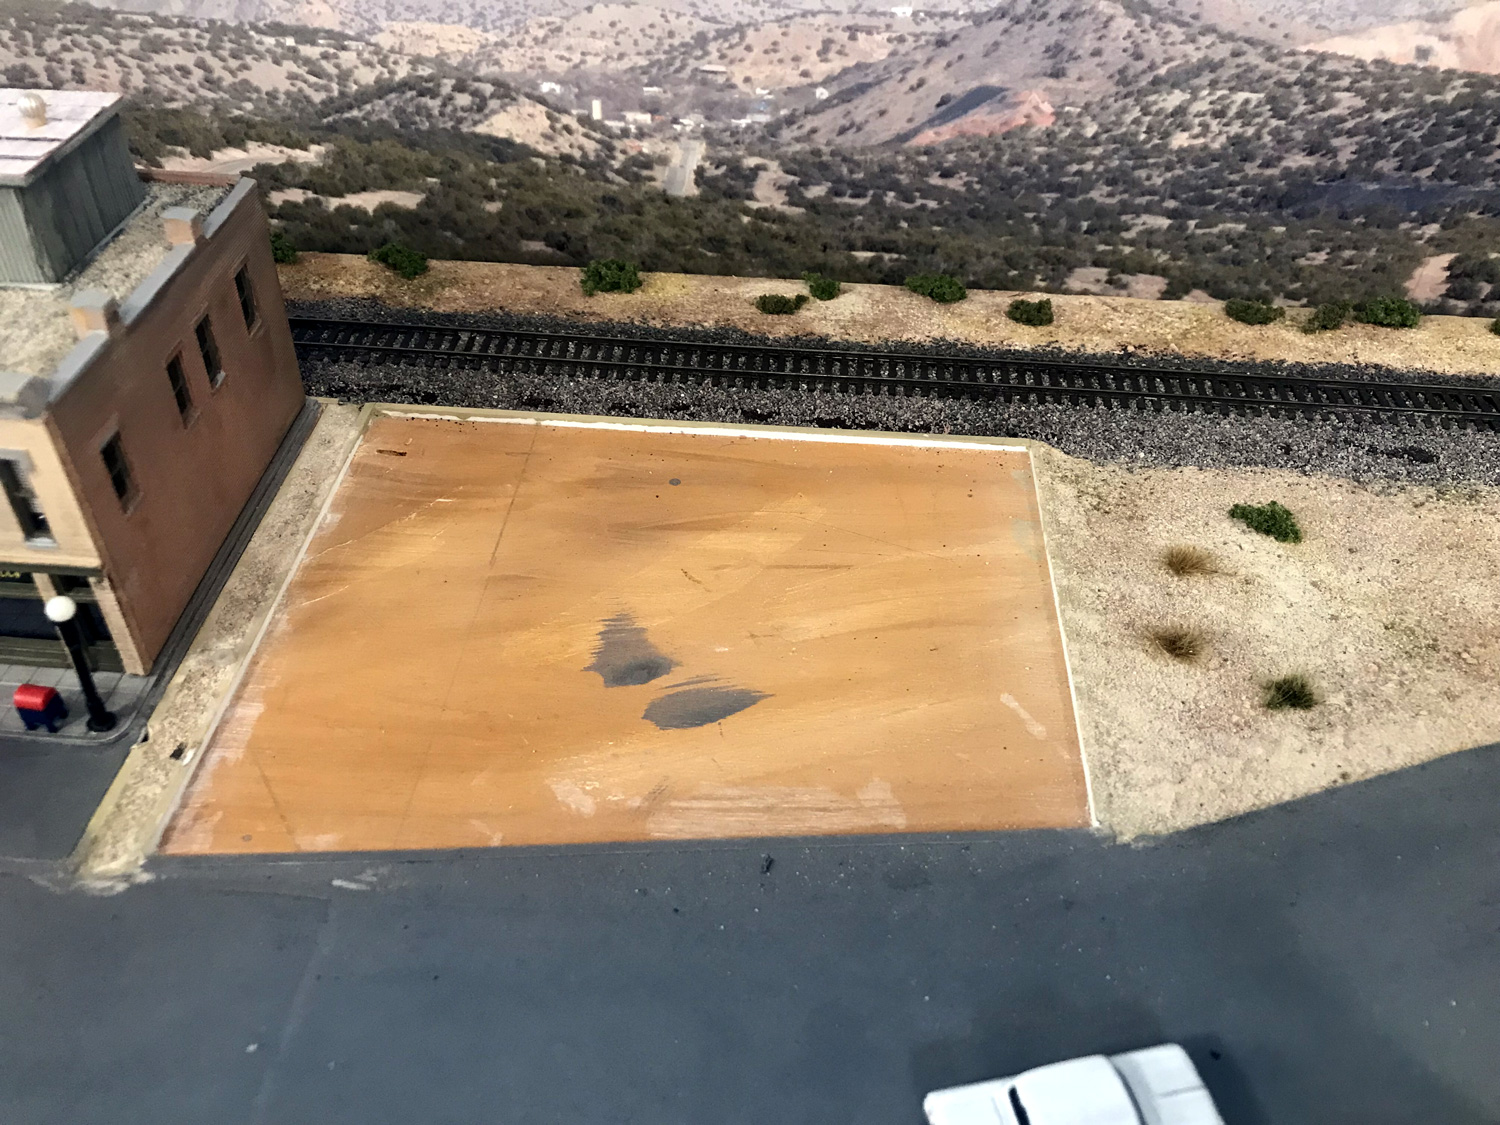
After installing the new trucks, both cars were given a test run around the layout and preformed perfectly. So, two freight cars that had been sitting in the "to be sold" box and now active on the layout and are among my favorites. The two photos below show 884534 on the siding at Diamond Plastics and an empty 884590 in the yard at Carlin waiting for the next eastbound manifest to pick it up.